Video Walk Through
Book your ‘In Office’ seat assignment
Let's walk you through how to create a reservation! The portal reservation can be done in any web browser or the Microsoft Teams app.
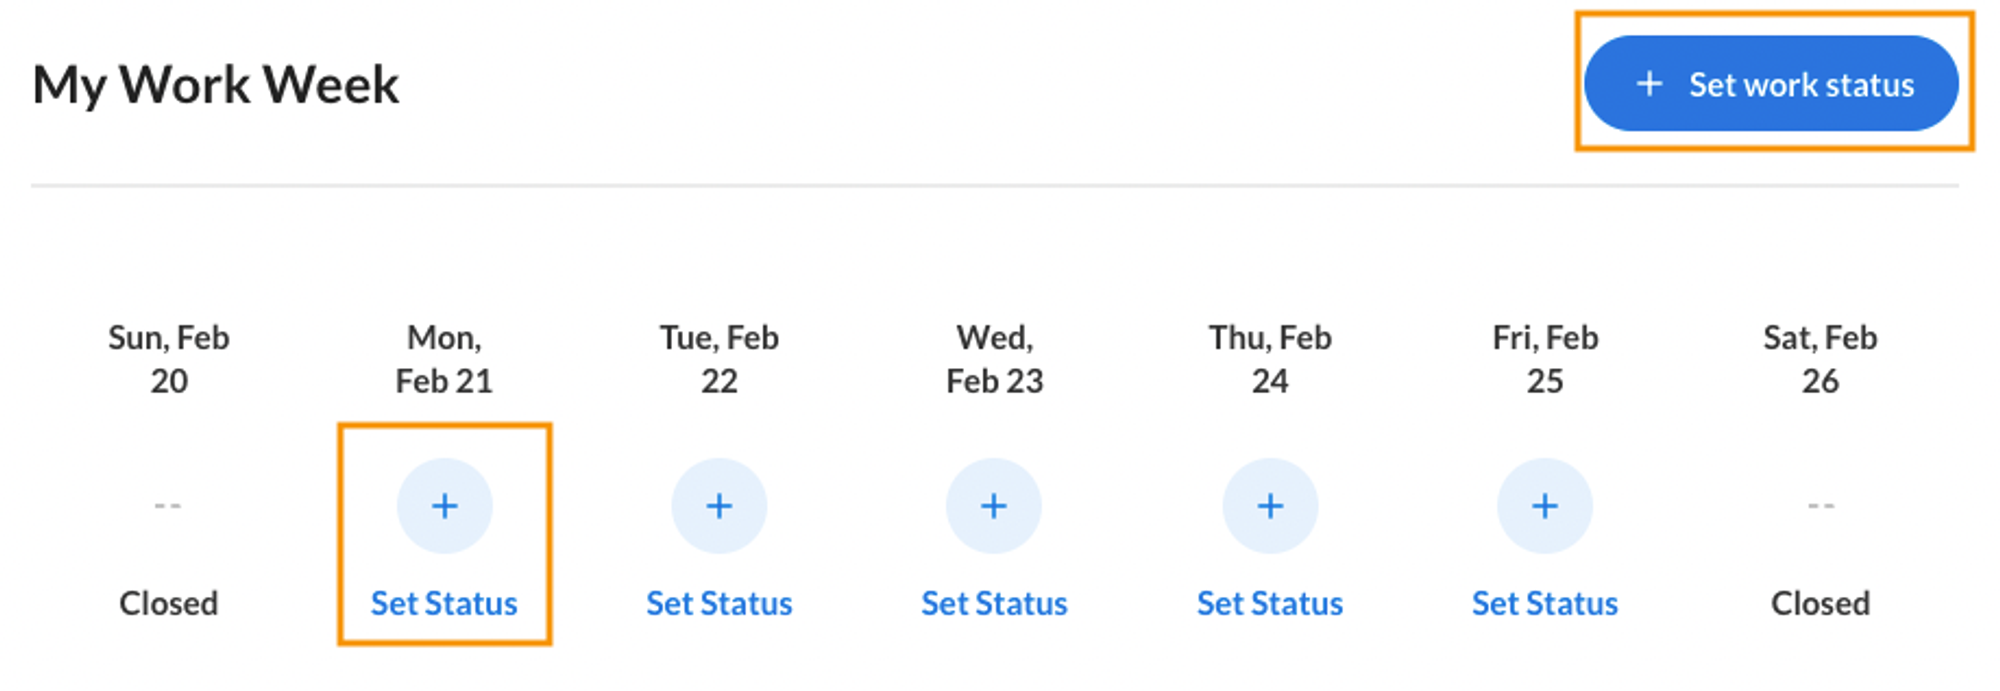
- There are two locations on the Home dashboard where you can create a reservation. Both buttons take you to the same screen.
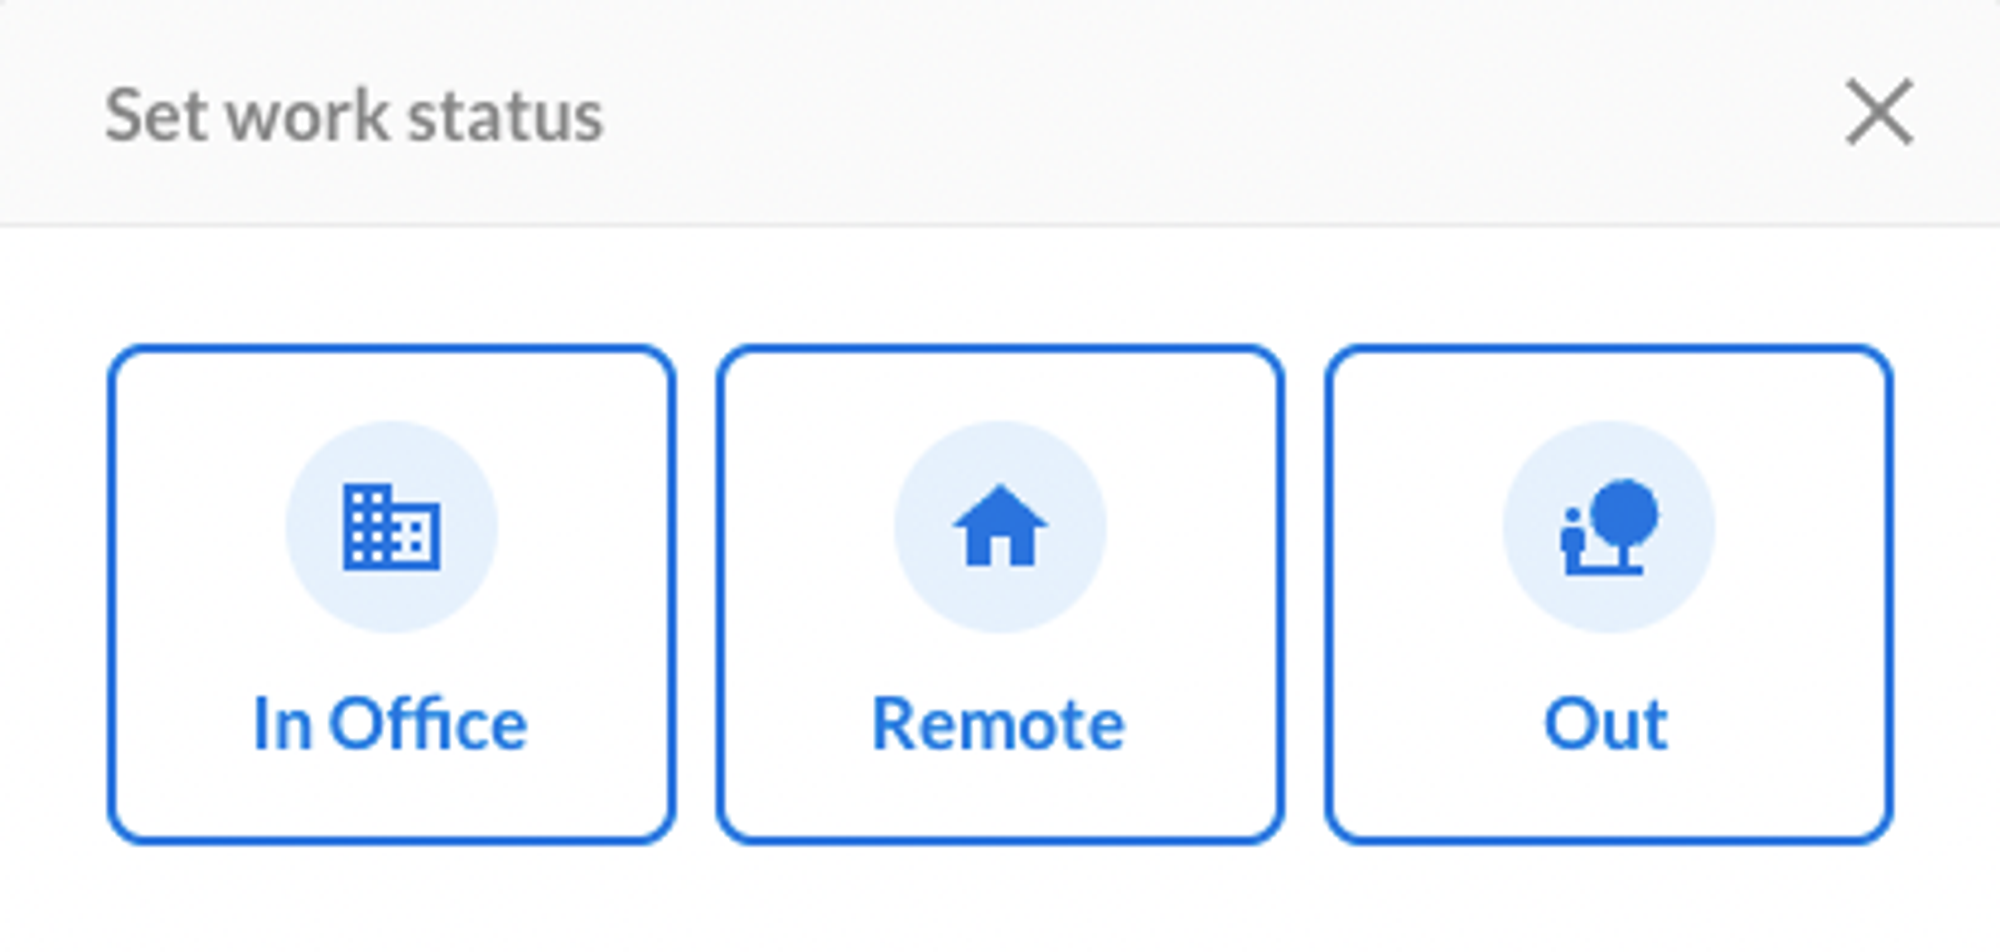
- Choose the ‘In Office’ status from the list of options.
- At the top of the next window, the initial options for the Start date, the Non-recurring or Recurring option, your ‘Default’ office and the ability to ‘Add guests’ are listed. NOTE: You must have permissions for setting recurring reservations and adding guests in order to see those two options.
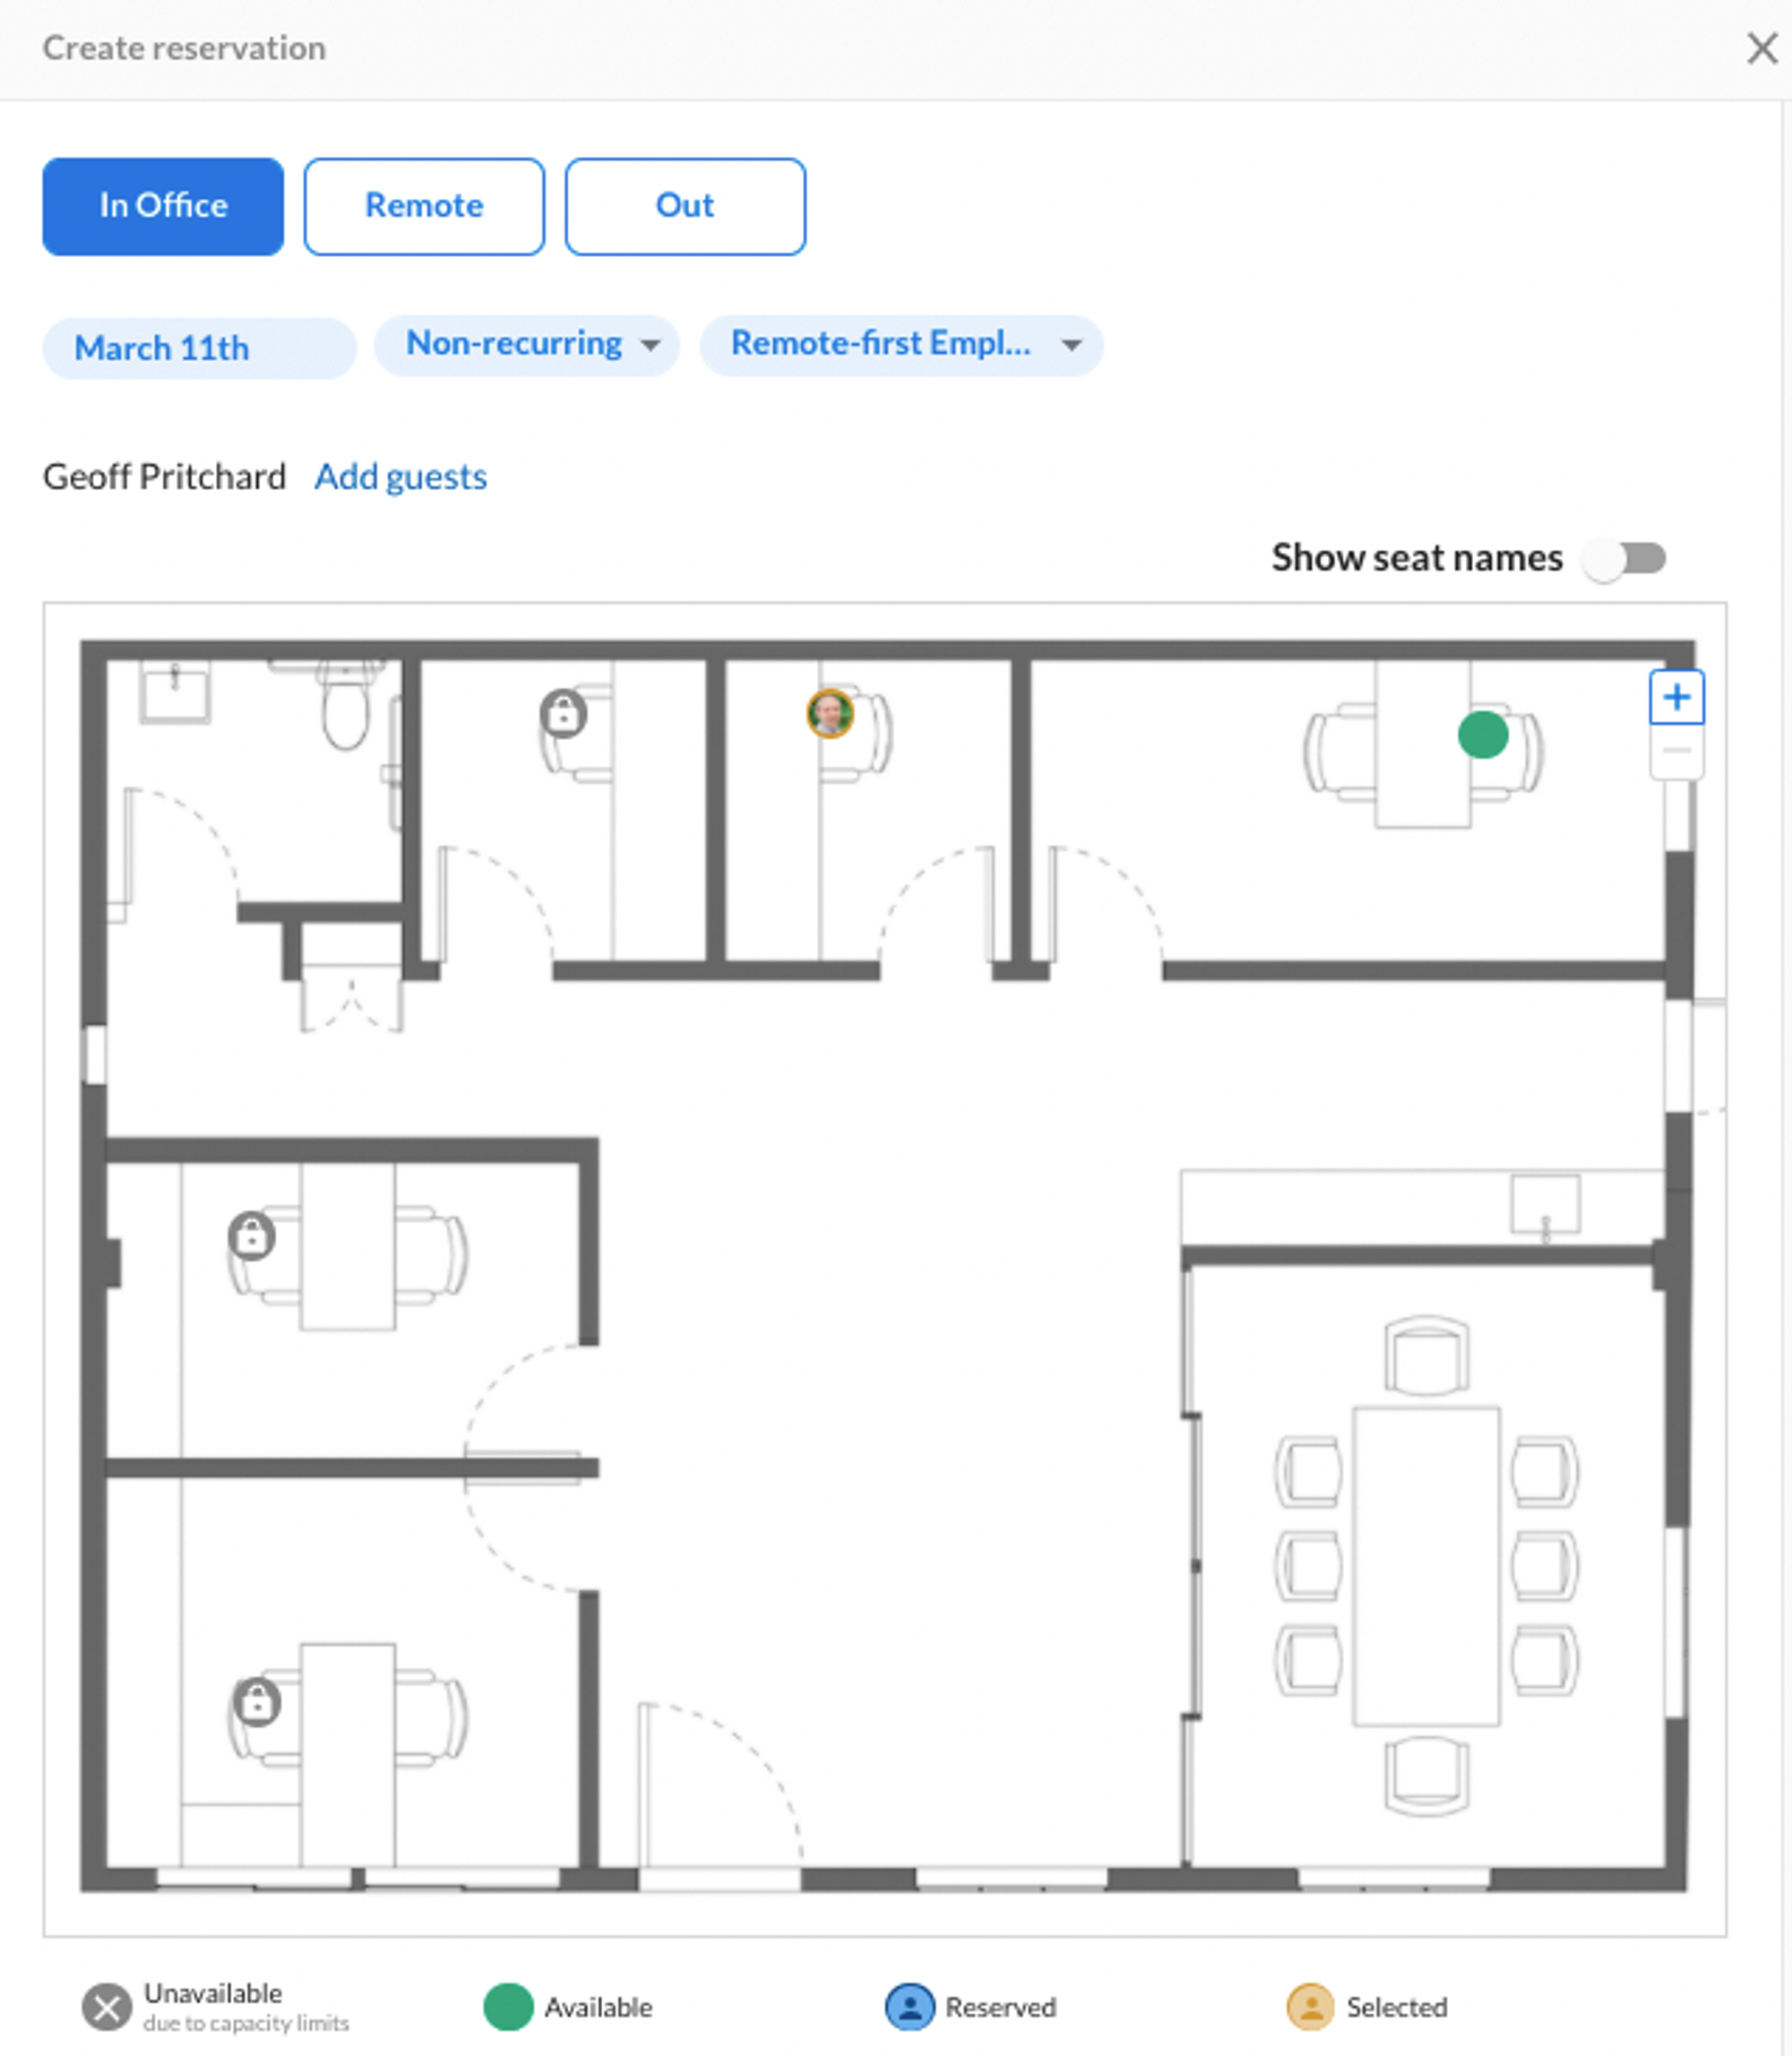
- If the items in the top section are correct, the only remaining step is to choose your desk. In the image above, the seat circled in orange is set as the requested booking. In regards to how the seat is selected for you:
- If your seat is ‘Assigned’, then your name and picture will appear on the seat that is permanently yours.
- If your seat is part of a tagged group of seats for a department (ex: HR), then you will be given one of the options within that group, but have other options as well.
- If you always choose from the “hot-desks” within your office, then any of the un-assigned seats can be yours to choose from.
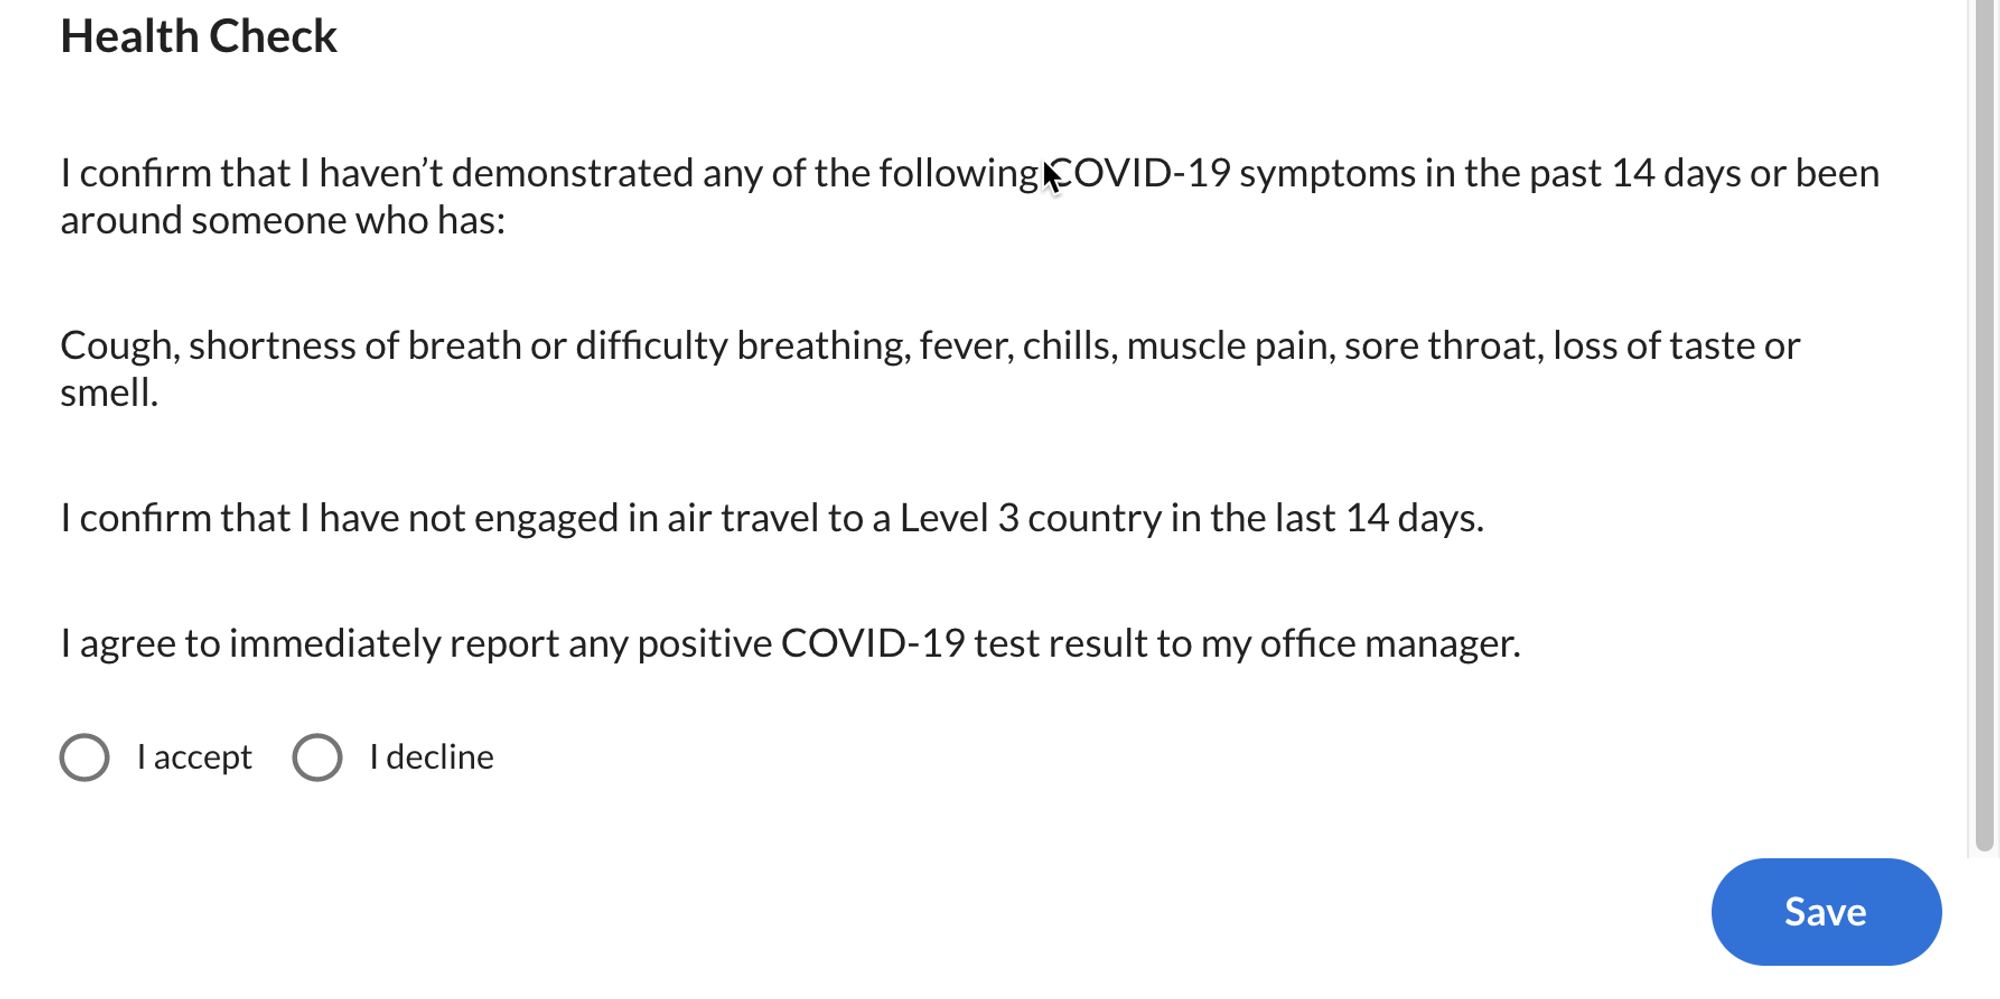
- If this is a same-day reservation (or within the allotted timeframe for the next day), and your company requires health checks, then you have to choose the ‘I accept’ or ‘I decline’ before clicking ‘Save’.
- Once you click "Save", your reservation is confirmed and you can view and hover over the icon from the Home dashboard. If notifications are turned on, you will receive an email and Slack/Teams notification about this new reservation.
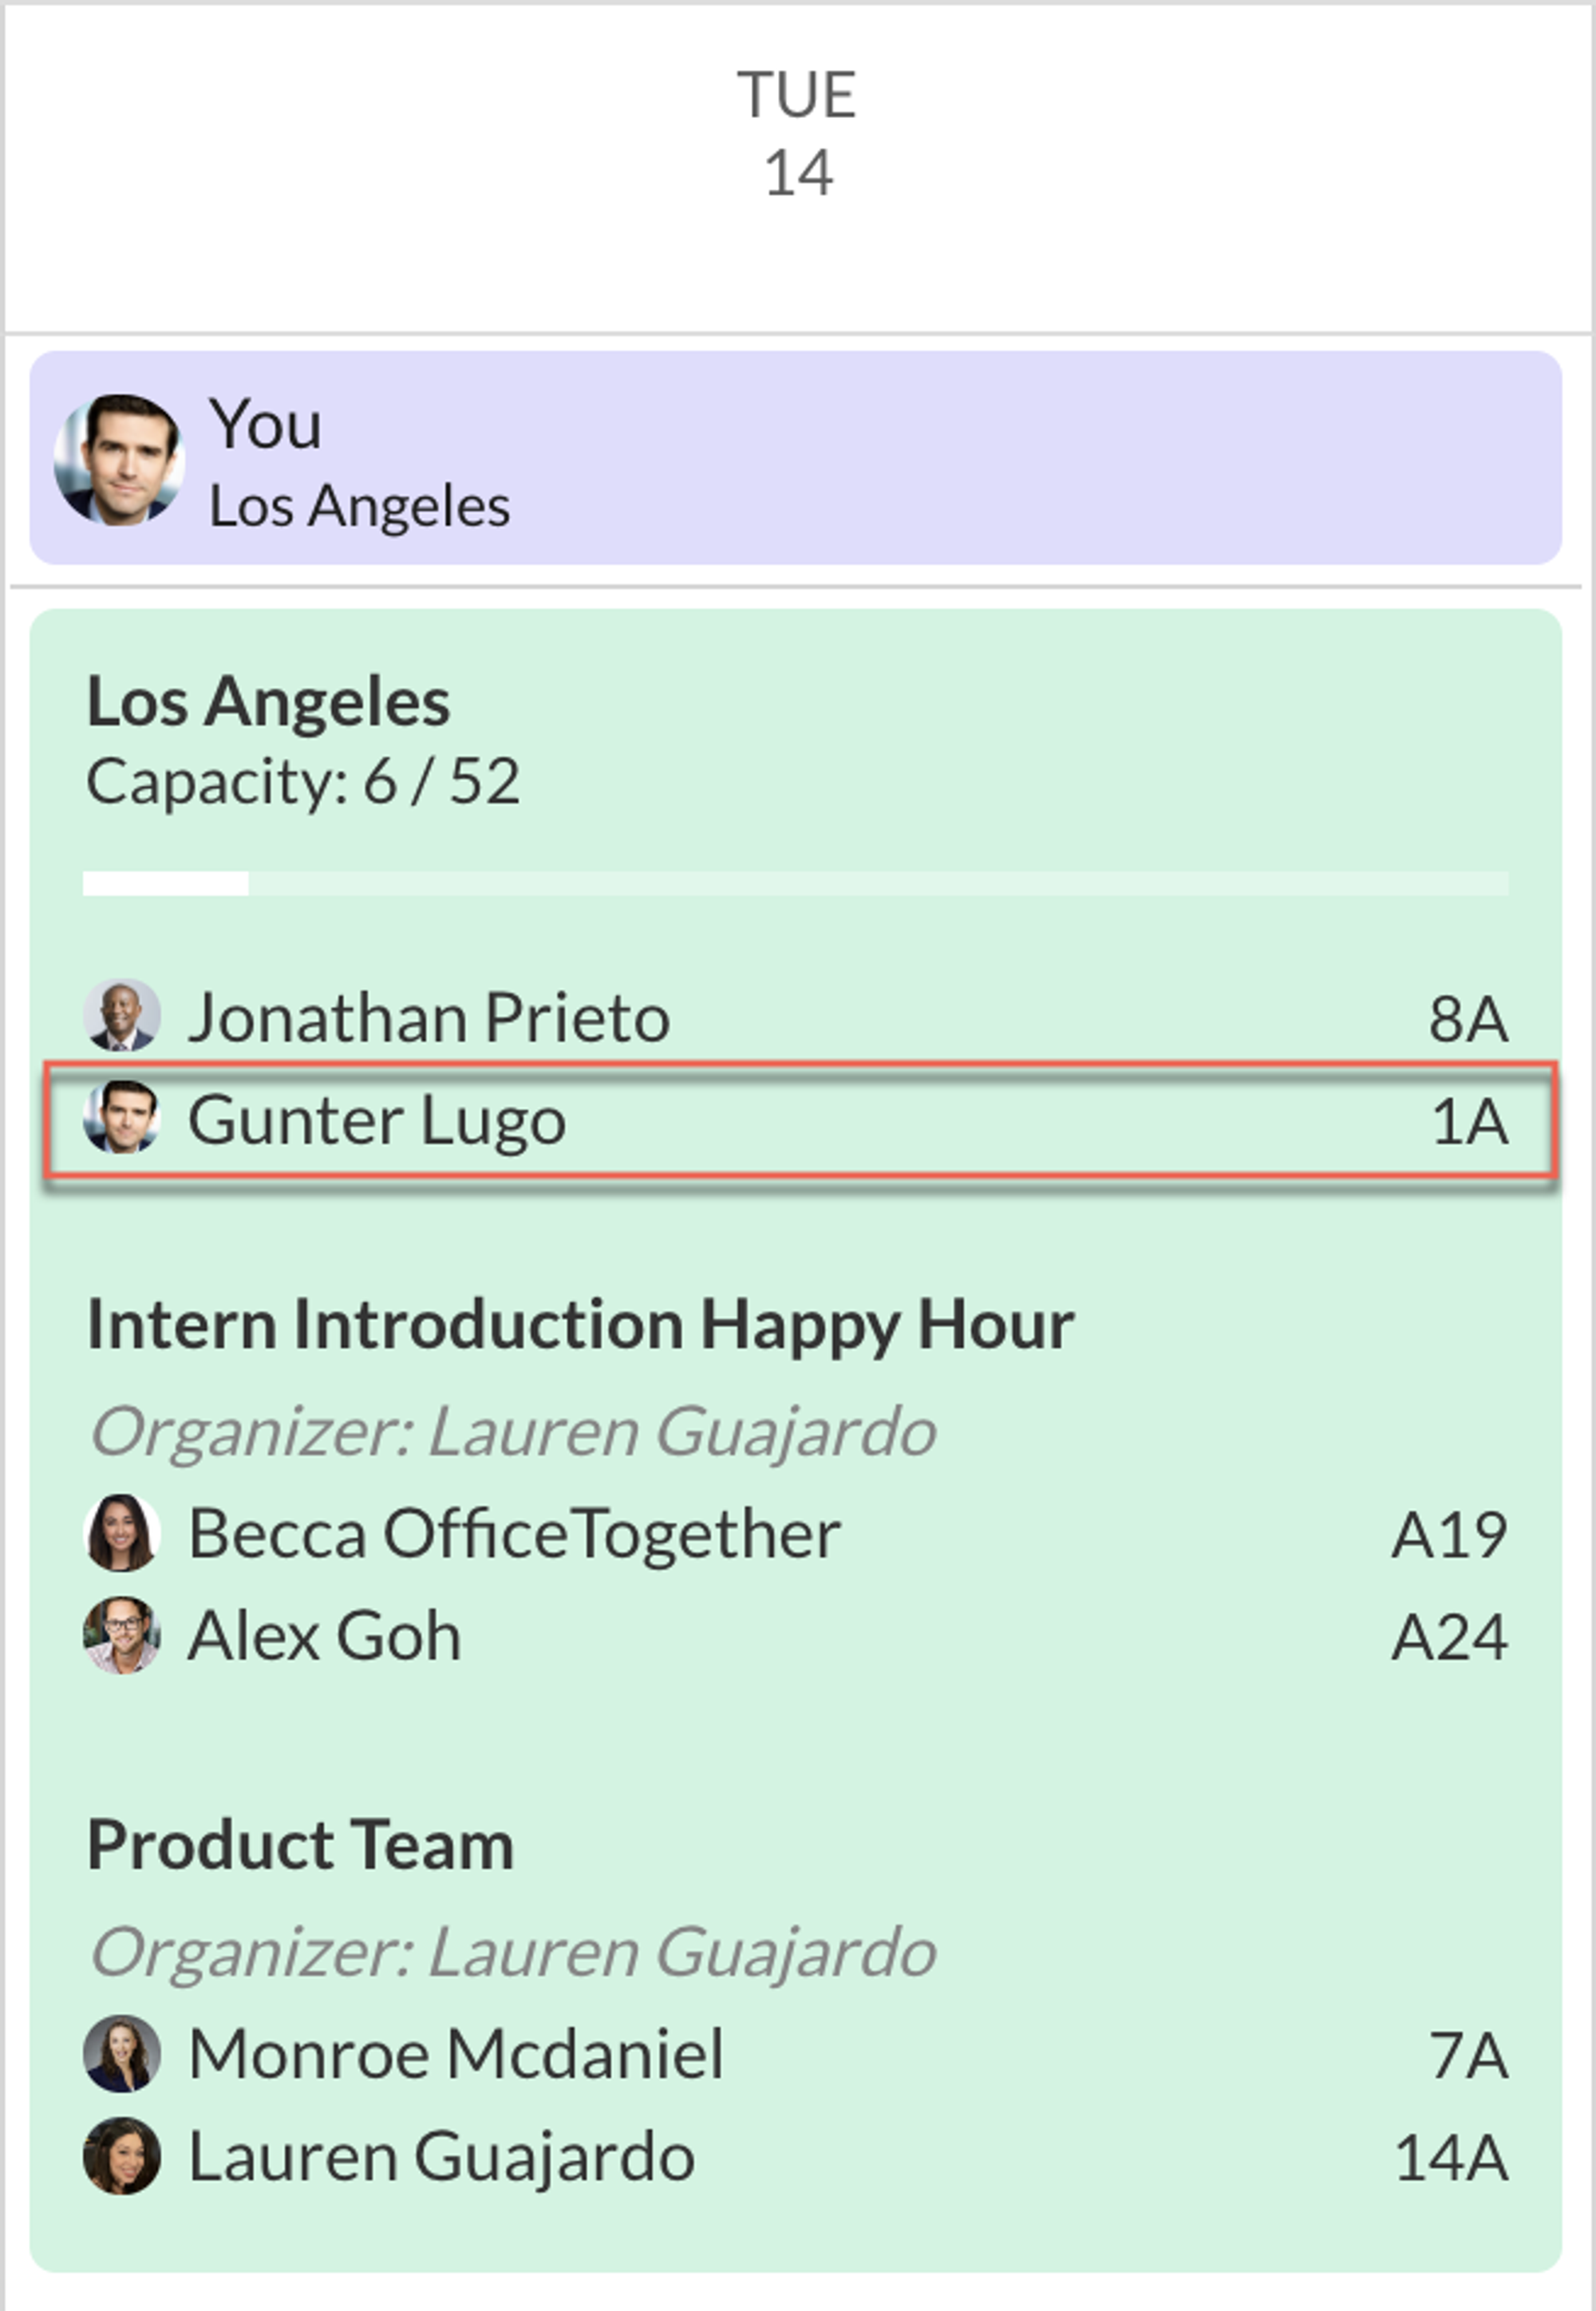
- If you would like to review who else is visiting the office on the same day, go to the Calendar tab.
Have any questions for us? Let us know how we can help.
Email support@officetogether.com to start the conversation!